In this tutorial we will start using the concept of dynamic data sources. This allows a presentation to use and present real time data from various external data sources. We will be using an RSS feed to present some news text in this tutorial.
This tutorial requires that you have an Internet connection over which we can retrieve a public RSS feed.
You should know how to load a project by now. If not, consult tutorial 2. If you completed tutorial 2 you can continue with that project workspace. Otherwise, create a work copy of the Tutorial2 example in the editor and load it.
What you will notice when you have loaded the project is that there is no scene layer loaded into the Screen view or Timeline view when we opened the project. When loading a project the have multiple layers in it you have to activate the layers you would like to see by yourself before you can start to edit them. This is done by clicking the eye icon next to the layer in the Project view. You can also notice that only one of the layers will have a pencil icon next to it. This marks the layer that editing is done in. This for example means that objects will be placed in this layer when you add new objects. You can switch which layer is being edited by activating the layer's timline tab at the bottom of the screen.
Before we create our news scene, we must set up a data source that retrieves the RSS news periodically over the Internet.
Click the button on the Insert tab in the application menu.

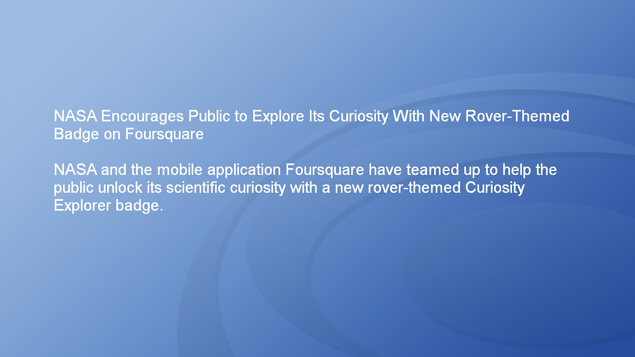
In our case we will use a publicly available RSS feed for this tutorial so type http://www.nasa.gov/rss/dyn/breaking_news.rss in the URL dialog box and click the OK button.
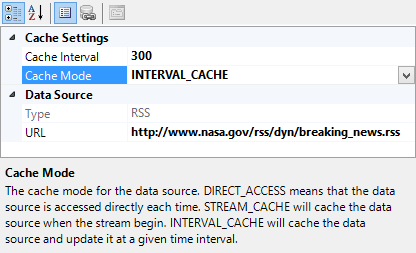
Rename the data source to "rss feed" and then look at the Properties view to the right which shall now display the properties for the new data source.
Change the Cache Interval property to 300 and the Cache Mode to INTERVAL_CACHE. This will make the data source update its data from the network every 300 seconds (5 minutes).
Lets create a layer that contains a text object that can present the RSS news we just configured in the previous step.
Add a new layer to the project and name it "news". Insert a text object into the layer and scale up the size of the text box to cover a suitable area of the screen.
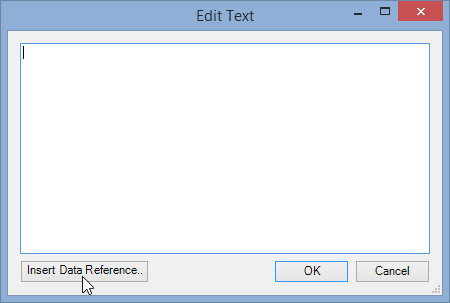
Now its time to tell the text object to display data from the RSS feed. This is done by editing the Text property of the text object. The easiest way to edit data source connections is to open the text editor by clicking on the "..."-button next to the Text property, or by using the menu item. In the dialog that appears, remove the text that is written by default and the click on the button.
You are now presented with the data sources that are available for use right now. The data source is always there and contains system data like time and date. Our data source is also presented in the list with its internally created data items named and .

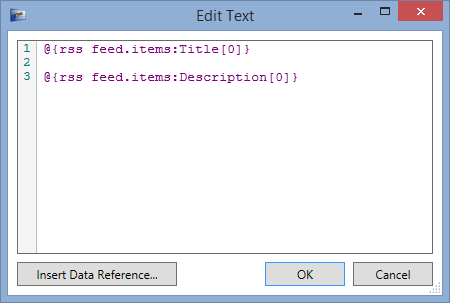
Select the data item and click on the button in the right part of the dialog. This allows us to select what field in the RSS feed we would like to present in the text box. Select in the box and then click on the button.
![[Note]](images/note.png) | Note |
|---|---|
| If the button is grayed out and can not be clicked it means that the data for the data source has not yet been loaded. This can be because of two things; either that no RSS feed is available at the source you specified or that the source has not yet been loaded by Demorize. In the latter case you can manually update the source from the context menu of the source in the project view. |
We would not only like to present the title of the RSS feed news, but also the full news text. This can be done by inserting another data reference into our text. In the Edit Text box, put the text cursor at the end of the text and press return two times to create some new lines in the text. Click on the button again and this time select the field for the items data item of our rss feed data source. Click OK in the Edit Text dialog since we are done with the text editing.
The RSS feed text will now appear in the Screen view if the data source has updated itself. You can manually update a data source in its context menu in the Project view if no data has yet been retrieved.
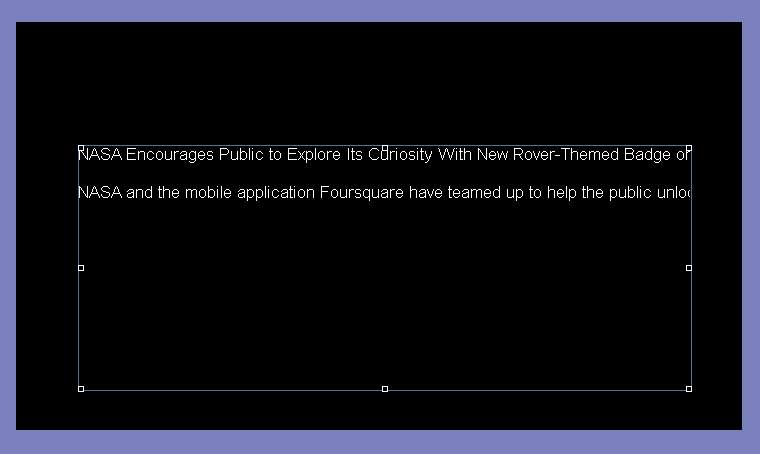
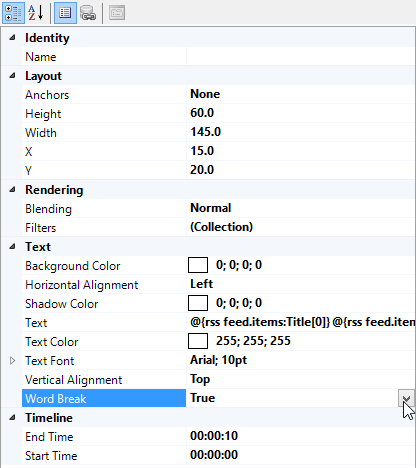
One final change is needed to the text object, and that is to enable Word Break since the news text often is longer than what fits on one row. You enable the word breaking in the properties for the text object.
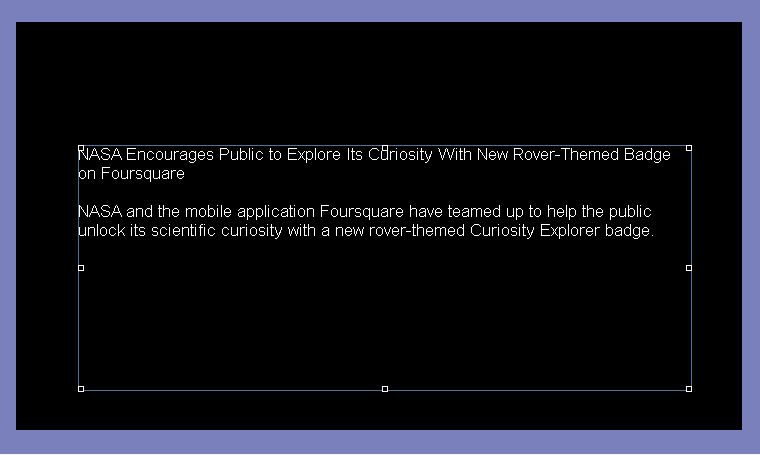
The screen will now look like below.
We are now going to create a new scene that use the news layer in order to demonstrate that scenes can be shown after each other in a stream.
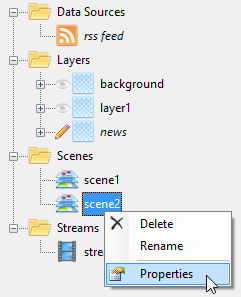
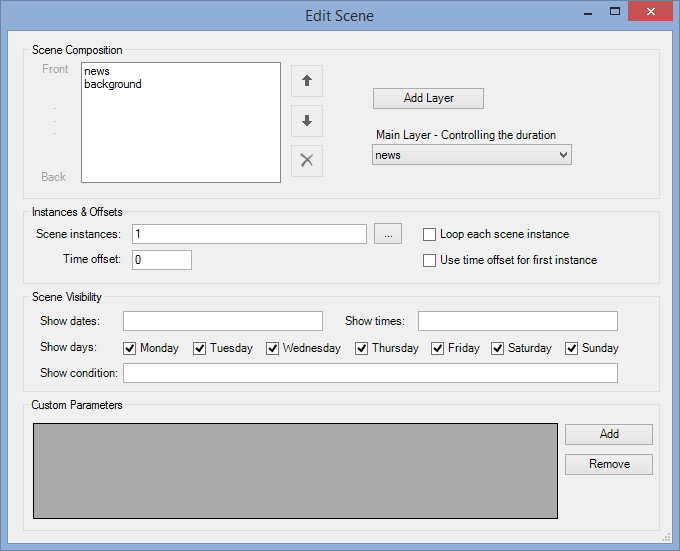
Create a new scene, name it "scene2" and open its properties.
Add the "news" and the "background" layers to the composition. Make sure that you also set the news layer as the Main Layer so that it controls the duration of the scene. You now see that it is convenient to separate the background into an own layer since we can reuse it.
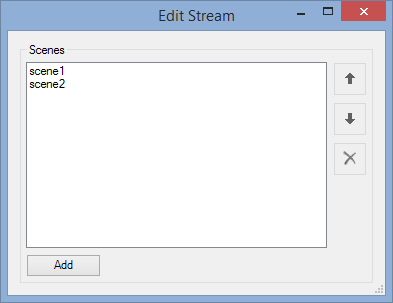
Open up the properties for our stream and add the new scene to the end of the stream.
We are now finished with our editing, so you shall save the project.
Time to test your presentation again by launching the Demorize Player from the stream's context menu. This time you will see that the two scenes, the one from tutorial 2 and the one we just created, are played after each other and that the news text is updated with real information that is downloaded from the Internet while the presentation is running. If the RSS feed on the Internet updates itself, the text in the presentation will also be updated.